Building and Installing Skis on Your R/C Plane
December 1, 2000

Twin electric Sig LT-25 on homemade skis.
When winter comes, many modelers pack their planes away and wait until spring. If you’re a glow flier, I can imagine why; starting an engine with numb fuel-soaked fingers can’t possibly be fun. But if you fly electric, what’s your excuse? If your plane needs wheels in the summer, it’ll need skis in the winter. You can buy model airplane skis at your local hobby shop, but it’s cheaper, and more fun, to build your own.
Ski Design
There are a few things to keep in mind when designing a set of skis. First there is the matter of size. The skis must be large enough to support the weight of the plane. Looking at the various commercially available skis and the size of plane they are meant for, I arrived at a figure of about 14 sq.in/lb. In other words, you should have about 14 sq.in of ski per pound of airplane weight.

The Great Planes SlowPoke also makes an excellent winter plane.
Next up is the placement of the pivot point. Most commercially available skis pivot at or in front of the ski’s centre. Steve Grey of Flitecraft in Kitchener suggests that this is a dumb idea. Imagine a ski sitting on the snow with no weight on it. If you now press down in front of the ski’s centre, the tip of the ski will sink into the snow. If on the other hand you press down further back, the nose will come up and the tail will sink in. This is obviously the preferable situation.
The third thing to consider is how you will keep the ski in position. The mounting method must be flexible so the ski can pivot as it passes over uneven snow, but when airborne, the tips should be slightly tilted upwards. Commercial ski kits use a torsion spring to hold the ski in the desired position, but this is tricky to get set up right. A much easier solution is to use a rubber band to pull the front of the ski up, and a string at the back that limits how far the tip can go up. This is very close to how skis on full scale planes are rigged.
Finally there is a question of materials. My first skis consisted of several layers of thin plywood, laminated together over a form to achieve the right shape. Steve Grey suggested using just one layer, and using the spine of the ski to hold the shape. I did this with my latest skis, except I used Formica instead of ply. 1/32″ birch ply would work just as well.
Construction
Start by studying the drawing, which gives all the dimensions. The sizes shown are for my 6.5lb twin-motor tricycle-geared Sig LT-25. The drawing is for the two main skis. The nose ski is 3″ shorter, with 1.5″ removed from each end.

Main skis for a 6.5lb tricycle geared airplane.

Ski parts, back to front: spine, runner, and reinforcements.
Cut the spines out of 1/2″ or 9/16″ spruce, pine, or poplar from the lumber yard. It isn’t really all that heavy once you’ve cut them down to size. Note that the grain runs lengthwise, and that the spine includes the trapezoidal part in which the pivot is installed. Cut the centre section reinforcement trapezoids out of 1/32″ birch ply and laminate these to the spine using 30-minute epoxy. These prevent the centre section from breaking off if you skid sideways during a landing.
Drill the centre section to accept a piece of brass tubing whose inside diameter matches your plane’s axles (for 5/32″ axles, drill a 3/16″ hole). The height of the hole above the bottom of the ski should be half the diameter of the wheel you normally use. Install a piece of brass tubing in the hole (it can stick out each side 1/32″ or so).

Clamping the reinforcements onto the spine.
Cut the ski itself out of 1/32″ ply or Formica (plastic laminate), with the grain running crosswise. If using Formica, the finished side should be on the bottom. Lay the ski down near the edge of your work bench, and glue the straight part of the spine to the ski with medium or thick CA. Use clamps to hold the spine down until the CA has set.
Unclamp the ski, turn it over, and bend the tip up along the curved part of the spine. Drill a 1/16″ hole through the bottom of the ski and the spine near the tip. Enlarge the hole in the ski to 1/8″. Apply CA to the curved part of the spine, bend the tip, and hold it in place with a pan-head #4 wood screw in the hole.
Install screw-eyes or small cup-hooks in the top of the spine as shown on the drawing. The exact location is not critical. Give the skis a few coats of clear varnish (I like to use water-based polyurethane), and then finish with paint of your choice. There’s no need to paint the bottoms if you’re using Formica.

Skis installed on the existing landing gear.
Installation
Remove the wheels and install a ski in each wheel’s place. Set the plane on the bench in a level attitude, and prop up the front of each ski by about 3/4″. Tie a piece of non-stretchable string (50lb kite string works well) from the rear screw-eye of each ski, to some point on the landing gear near the fuselage. I used a 4-40 bolt screwed into the aluminum main gear. For the nose gear, I just tied the string to the gear wire above the coil spring. The string should be taught with the skis propped up. Next, stretch an appropriate elastic from each front screw-eye to the same point where you attached the string.

The skis should be slightly nose up when there’s no weight on them.
If you now lift up the model, the skis should remain roughly where they are. If you place the model back down on a flat surface, the strings should go slack as the skis level out. If the skis stay pointed upwards, your elastics are too strong.
There you have it. A nice set of skis for some great winter flying, at a fraction of the cost of commercially available ones. At the time I wrote this, I haven’t yet flown from the skis because the snow all went away. When it returns, I’ll try to get some ski-flying pictures and write about my experiences.
Flight Report: Thursday December 14, 2000
Today at lunch time I took out my ski-equipped Great Planes SlowPoke (see the second photo on this page). The temperature was about -5°C, winds from the west at about 20km/h, the sun was shining, and the snow was smooth and firm.
I put in a freshly charged pack, set the plane on the snow pointing into the wind, and advanced the throttle. The SlowPoke picked up speed, and was airborne in about 50ft. Immediately after lifting off, it pitched up sharply, but continued to climb. I suspect that the upward pointed skis were partially responsible for this. A bit of down elevator levelled it out, and after that, it remained level even with neutral elevator.
I made two flights, each lasting about three minutes (the packs hadn’t been used in a while, and had just recently been slow charged). Each flight ended in a near-perfect landing, and in both cases, I was able to taxi back to where I was standing. Wow, what fun!
Flight Report: Friday December 15, 2000
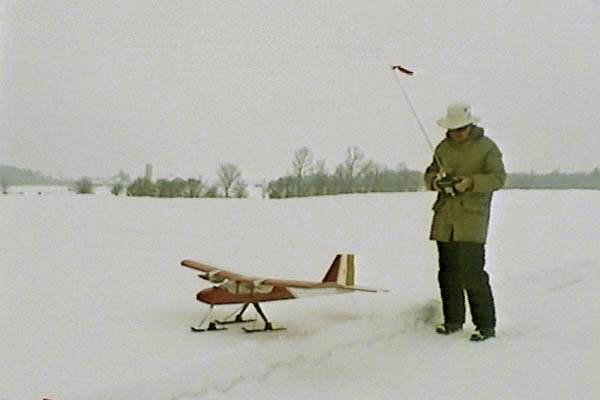
On our lunch hour, my friend Alex and I decided to go flying. I had brought my Sig LT-25 and my Fred’s Special to work, both equipped with skis.
 |
 |
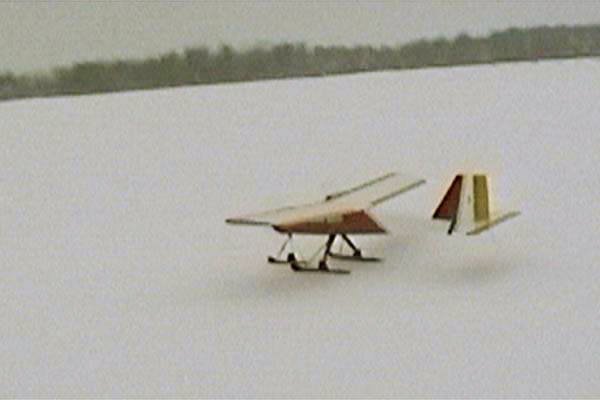
The first flight was with the Fred’s Special. All went well during most of the flight, and I did several touch and goes. We even got a few pictures of the flight. When I finally decided to land, my final approach was too nose-down, and the skis dug in and broke. The skis on this plane were built a long time ago, and not as described in this article, and the older design is prone to breaking if they dig in.
We had another flight with the Fred’s Special without the skis, hand launching and belly landing.
After that, we decided to give the LT-25 a try. The first thing I noticed before the flight was that the plane was way out of trim. The Sig plastic pushrods seem to shrink horribly in the cold weather. To make things worse, the rudder and nose ski were not out of trim by the same amount. Since I didn’t have any tools with me, I had to settle for being able to adjust only the rudder, leaving the nose ski slightly turned. Since there are no runners or grooves on the skis, this didn’t matter much.
In flight, I had to hold in a significant amount of up elevator. The trim control was not sufficient to trim the plane out. Other than that, the flight went well, and I made a pretty good landing. While taxiing back however, the plane got caught in some weeds so I had to retrieve it. We were about ready to fly again, when the transmitter low-battery warning started to beep. Since I’d had only one flight with this transmitter, and it was freshly charged, I suspected that there was something wrong with the transmitter pack, and we called it quits for the day (later investigation uncovered a dead cell in the pack).
Flight Report: Sunday January 7, 2001
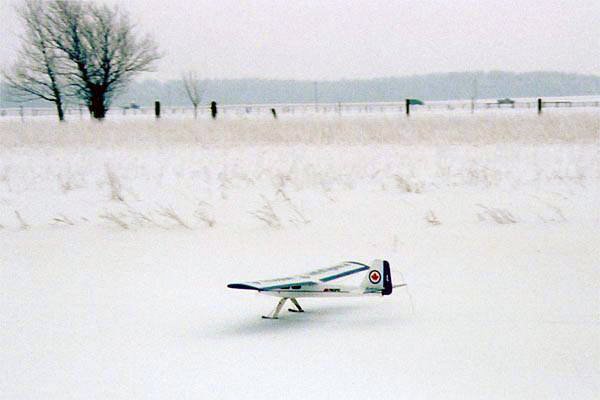
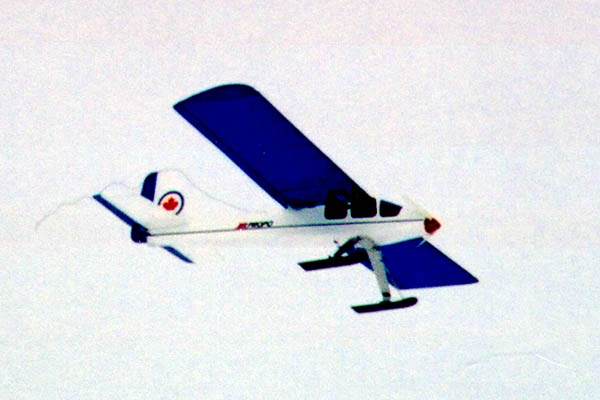
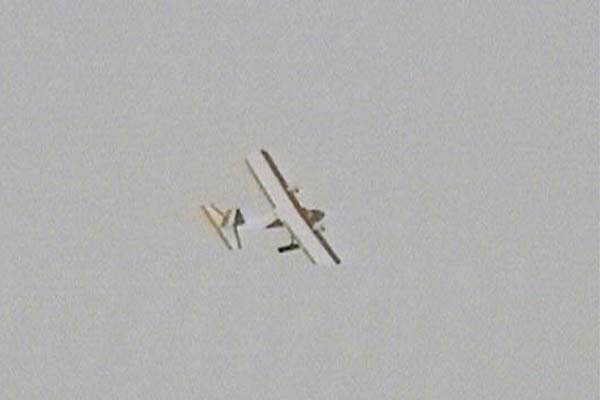
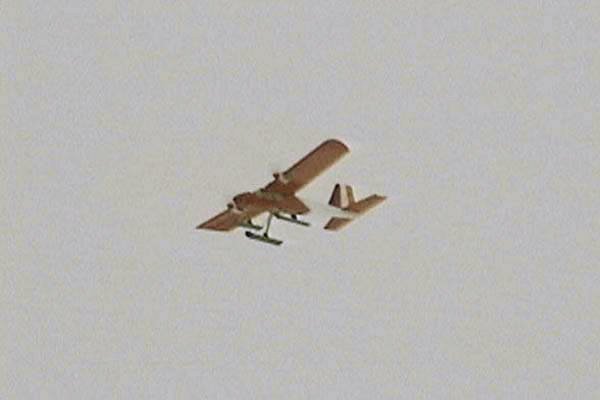
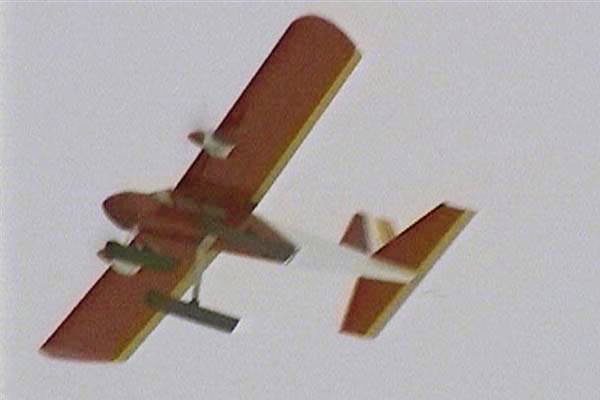
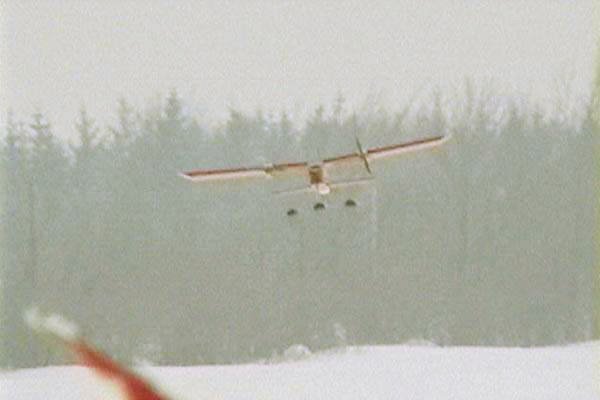
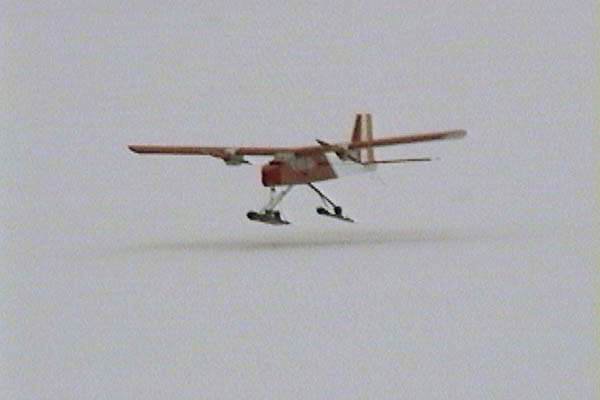
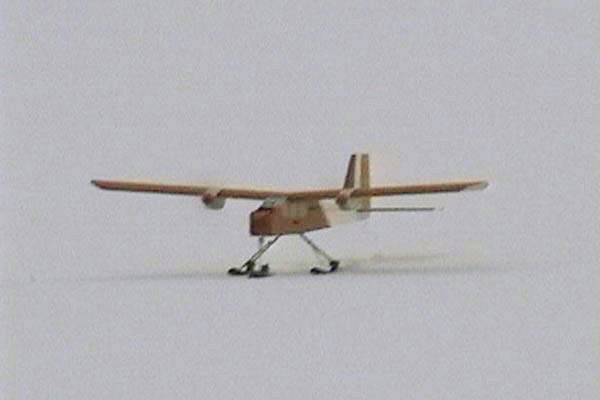
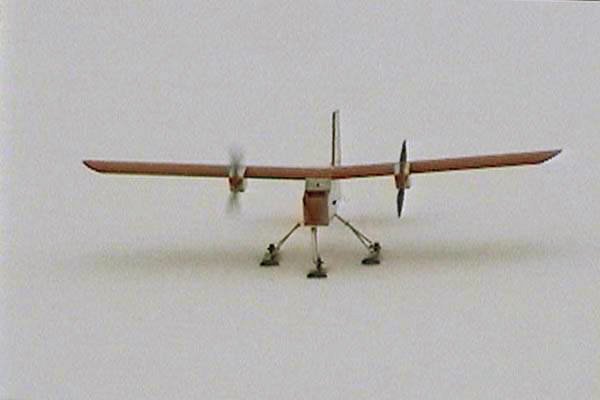
We’ve had lots of snow here on the farm, and the weather was reasonably warm (just below zero) and not too windy, so I decided to fly the LT-25. After the last flight, I had replaced the pushrods with 1/16" (1.6mm) wire ones, and the plane remained in trim when we took it outside. My wife Lori videotaped the flight, and I captured some pictures off the tape:
 |
 |
 |
 |
 |
 |
 |
 |
 |
 |
 |
![]()
![]()
![]()
![]()
![]()
![]()
![]()
![]()
![]()
![]()
Related Articles
If you've found this article useful, you may also be interested in:
- Always Ready to Fly
- ARF Upgrades
- Conversion from Glow to Electric
- Scale Electric Airplane Design
- Model Airplane Electric Motor Mounting Methods
- Electric Aircraft Battery Mounting Methods

If you've found this article useful, consider leaving a donation in Stefan's memory to help support stefanv.com
Disclaimer: Although every effort has been made to ensure accuracy and reliability, the information on this web page is presented without warranty of any kind, and Stefan Vorkoetter assumes no liability for direct or consequential damages caused by its use. It is up to you, the reader, to determine the suitability of, and assume responsibility for, the use of this information. Links to Amazon.com merchandise are provided in association with Amazon.com. Links to eBay searches are provided in association with the eBay partner network.
Copyright: All materials on this web site, including the text, images, and mark-up, are Copyright © 2026 by Stefan Vorkoetter unless otherwise noted. All rights reserved. Unauthorized duplication prohibited. You may link to this site or pages within it, but you may not link directly to images on this site, and you may not copy any material from this site to another web site or other publication without express written permission. You may make copies for your own personal use.
Seth
November 21, 2007
Wow, that’s a project I’m definitely going to have to do. Thanks for the detailed instructions and the updates on how the flights went when you got snow again. I can already tell this project is going to be a blast! 😀
Wayne
December 29, 2009
Your design looks great, I’m going to build some for my RCM trainer (0.61 glow engine, 59" wing span). One of our brother clubs is having a snow fly on New Years day. I’ll take photos and let you know how it works.
Randy F St Peter
November 21, 2010
looks fantastic gotta try it
Will Garner
November 29, 2010
it worked well with the Uno Wot (Chris Foss design).
Bernie Trompeter
January 19, 2011
CAN’T WAIT TILL MORNING TO GET STARTED IN THE SKI’S. THEY WILL GO ON A BEAVER ELECTRIC AND THIS SHOULD BE FUN. TONIGHT IT IS SUPPOSED TO SNOW 8″ HOPE IT DOES AS I THINK I CAN HAVE THE SKIS DONE IN 2 DAYS. I AM JUST A BEGINNER BUT LOVE THIS SPORT. SHOULD HAVE STARTED AT 22 INSTEAD OF 72.
Gary Cather
December 17, 2013
Thanks for the info,I just built some scale ski’s for my carbon z cub,I did some web surfing for picks and went to town with my Drexel and some wood,They look pretty good and cost me $12.00 bucks.
Camille Goudeseune
March 24, 2014
Elegant design, Stefan. This’ll let my electrified Sig Kadet Senior (also 6.5 lb) land on the grass strip that’s just too bumpy for its 3-inch wheels.
Camille Goudeseune
July 03, 2014
Mwah mwah. The nose ski works only with a taildragger or a twin-engine. On tricycle gear, the nose ski’s tip blocks part of the prop disc; the prop also cuts the elastic pulling up the ski’s tip. So I’ll use the skis only on my Kadet Senior’s main gear, and leave the nose gear as a wheel.